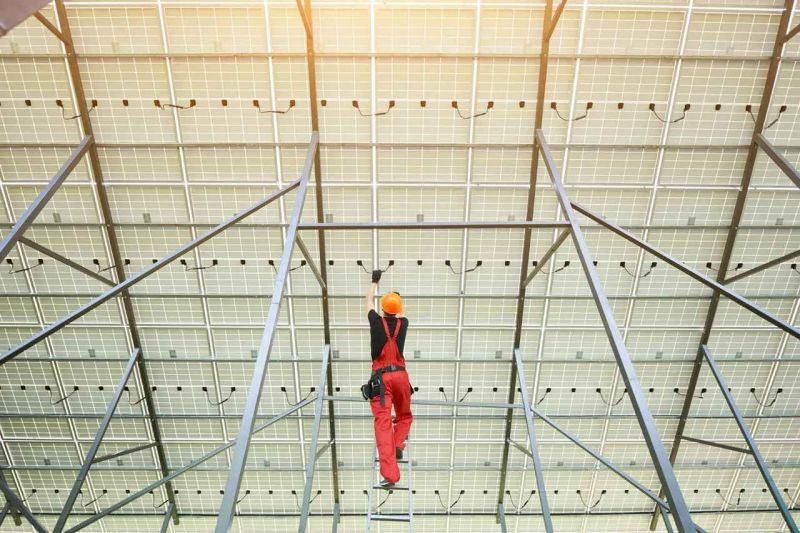
Solar mounting structure construction methods
The success of a PV installation relies on solar panel mounting systems. Here we discuss the four-step approach to selecting the right mounting structure for your PV project.
How do you choose which mounting structure is the most appropriate for your project?

Selecting
solar mounting structures
Choosing the right mounting system for your project is a four-step process that involves selection, design, and installation.
1. Geological survey
The first step is to carry out a survey of the geology of the land where the PV system will be installed. A bore test and tests to understand the soil conditions are essential to understanding the best type of foundation to use. You need to assess:
Ability to excavate the site
The acidity of the soil, as this will determine whether you need to use a protective coating
N values: which measure the relative density of sandy soil and the consistency of clay soils
Presence of groundwater
Soil forces
These variables demonstrate how different sites can require different mounting structures. Measuring them will help you to determine the best type of structure for a specific site’s soil conditions.
2. Plant design
Once you understand the geology and topography of the site, you can begin to design the PV plant with the most appropriate structure. Whether you decide to install the panels at a fixed tilt or install trackers to move the panels throughout the day to track the sun will also affect the structure.
In complex terrain, you will naturally need to have different lengths for the foundation piles. You can easily account for that in the topography analysis in RatedPower’s pvDesign software.
3. Ground mounting structure types
The different options for mounting structures take into account the soil quality and other conditions at the installation site. These include:
√√√√√Ballast. If the soil conditions are not suitable for excavation or drilling, a ballast mounting system can use a pre-cast concrete block that is fastened to the ground. This mounting structure is often used for residential systems.
Helical piles. In sites with weak granular soils, helical piles are driven deep into the ground and attached to the PV panels. They can withstand uplift forces caused by the soil expanding or by strong winds as the helixes in the poles keep them fixed in place.
√√√√√Helical plates provide strong load-bearing capacity, so they do not need to be as long as other types of driven piles, reducing costs.
close-up-view-installation-helical-screw-pilesclose-up-view-installation-helical-screw-piles

√√√√√Pole mounting. Unlike ballast mounts, pole mounts do not require leveling the land or installing complex foundations. Pole mounting installs steel poles with concrete anchors to support the panels. Depending on the soil and weather conditions, some installations can require special adjustments to ensure the poles remain in place. Multipole mounting installs panels in a single line horizontally rather than separately, providing an advantage for large installations as all panels can be adjusted at once.
Ground screws. Also called earth screws, these are suited to sites where the soil is compacted, contains heavy clay, or is rocky close to the surface. Screws have lower torque when driven into the ground and they are less likely to break in harder soil. Screws are easy to adjust in low gradients so that mounting frames can be installed level and require less complicated earthwork and engineering. But screws may not go deep enough for sites with steep gradients and are not suitable for less stable soils.
Solar mounting structure construction methods Solar mounting structure construction methods

Concrete foundations. Repurposed brownfield sites, capped landfills, and designated wetland sites are ideal for ground-mounted solar arrays, but they require foundation designs to be minimally invasive. These kinds of sites can use concrete foundation racking systems that do not disturb the ground underneath.
4. Structure installation
Once you have decided which type of mounting structure is the most appropriate for the site conditions, it’s time to install the system. Decide on the location for each structure and pile, and then mechanically fasten them to the ground.
The method will depend on the type of foundation you choose — whether this requires casting cement or hammering poles into the ground.
 What happens when mounting structures fail?
The four-step process above can fail if the design for the array uses the wrong tilt angle, fails to use the right inputs to calculate the requirements for complex terrain, or uses the wrong type of structure for the environmental conditions the installation will be exposed to. Failing to use the right maximum power point tracker (MPPT) design — a DC-to-DC converter to optimize the match between the PV panels and the power grid — can also result in high mismatch losses.
Mounting structures must also be strong enough to withstand extreme weather conditions such as hurricanes, typhoons, storms, monsoon rains, and heavy snowfall. Attempting to save money on installations, perhaps by using less steel, has proven to be a costly mistake for some installers, when arrays have collapsed in harsh environments.
RatedPower can help design your ground-mounted solar array
Choosing the right mounting structure for your utility-scale PV plant is essential to ensure the installation remains stable throughout its lifespan. RatedPower’s pvDesign software provides advanced modeling capabilities that enable you to automate and optimize your project design, including selecting the best structure for the site conditions. Contact us for a demonstration.


